

In Late Winter We Ate Pears is more story than recipes about Italy, Vermont, bread, and the seasons. I happily read this book on the beach a couple of Summers ago. It has so much of what I love.
This Italian home-style bread recipe I tried uses a Biga, an old Tuscan dialect word for "mother" or starter. This was a new technique for me, and I have enjoyed the experience so far.
I am now on my fifth batch of Pane Casareccio, and each one gets better in texture and flavor. I have added a few suggestions to flesh out the recipe in places where I was a little uncertain at first.
When I researched Biga on a couple of bread forums, it seemed to be a method that drew some criticism. A Biga will eventually weaken or will in time turn into a sourdough starter, so what really is the point? Well, so far so good, and I'm really OK with either of those outcomes.
If my Biga soon becomes unusable I won't be upset. I'll be ready to bake different bread. If it slowly turns into a sourdough, then, in my opinion, it's a really interesting, unfussy way of getting there.
The other aspect to this method that I find so great is that the overnight sitting of the Biga is the bread's first rise. The next day your loaves need minimal rising.

Pane Casareccio
(Home-Style Bread)
adapted from In Late Winter We Ate Pears: A Year of Hunger and Love
This is the basic country bread found throughout much of Italy. The bread should have a thick crust and a slightly chewy interior with some irregularly sized holes...Makes 4 pounds of bread.
Make the Biga the evening before the day you make the dough:
3 cups flour
1/4 teaspoon yeast
2-3 cups water at room temperature
In a medium sized bowl, place flour and yeast. Add enough water to make a slightly thick, soupy mixture. (What helped me here is to think thick soup, not oatmeal). It must not be loose and splashy. Beat it well to incorporate some air into it, cover with a towel or plastic wrap, and leave overnight on a counter or other out-of-the way place.
 In the morning the Biga should be frothy with lively yeast activity. If it is flat and looks like the water and flour have separated, you will have to try again. (The freshness of your yeast might be the culprit.)
If your Biga looks lively pour three-fourths of it into a large mixing bowl, and store the rest in the refrigerator until the night before your next batch, when it can serve to add more developed flavor to the bread. (What has worked for me is to measure out 7-8 ounces of the Biga to store and the remainder should be about the three-fourths you will need for your bread).

Add to the Biga:
1 tablespoon yeast
2 teaspoons fine sea salt
5 cups flour
1/4 cup wheat germ
2 to 3 cups water at room temperature
To mix by hand:
Using a heavy wooden spoon, mix together the Biga, yeast, salt, flour and wheat germ and 1 cup of the water. As the ingredients combine into a single mass, continue to add water a little at a time, until the mixture in no longer lumpy and tough, but becomes a very soft, pliant, and resilient dough.
To use a mixer: Use the dough hook at the slowest speed until dough comes together.
If you are kneading by hand:
Turn the dough out onto a floured surface and knead for 15 minutes. Put the dough into a clean, large mixing bowl (I oil the bowl although the recipe doesn't call for it) and cover with a towel or plastic wrap. Let the dough rest for 30 minutes.
If you are using a mixer to knead:
As the dough travels around the bowl it should do so quietly and smoothly, without any bumps or clanking. If not, slowly add water in 1/4 cup increments, allowing 1 minute to assess the effect of each addition. If the dough sticks to the bowl at all, it should do so only at the very bottom of the dough, and only a little bit. If it is not moving around as a ball, then add flour in 1/4 cup increments. Let the mixer knead the dough for a total of 8 to 10 minutes, until it is silky smooth, yet elastic. Follow the directions above for resting.
 Preheat oven to 450 degrees.
Divide the dough into 4 equal pieces.
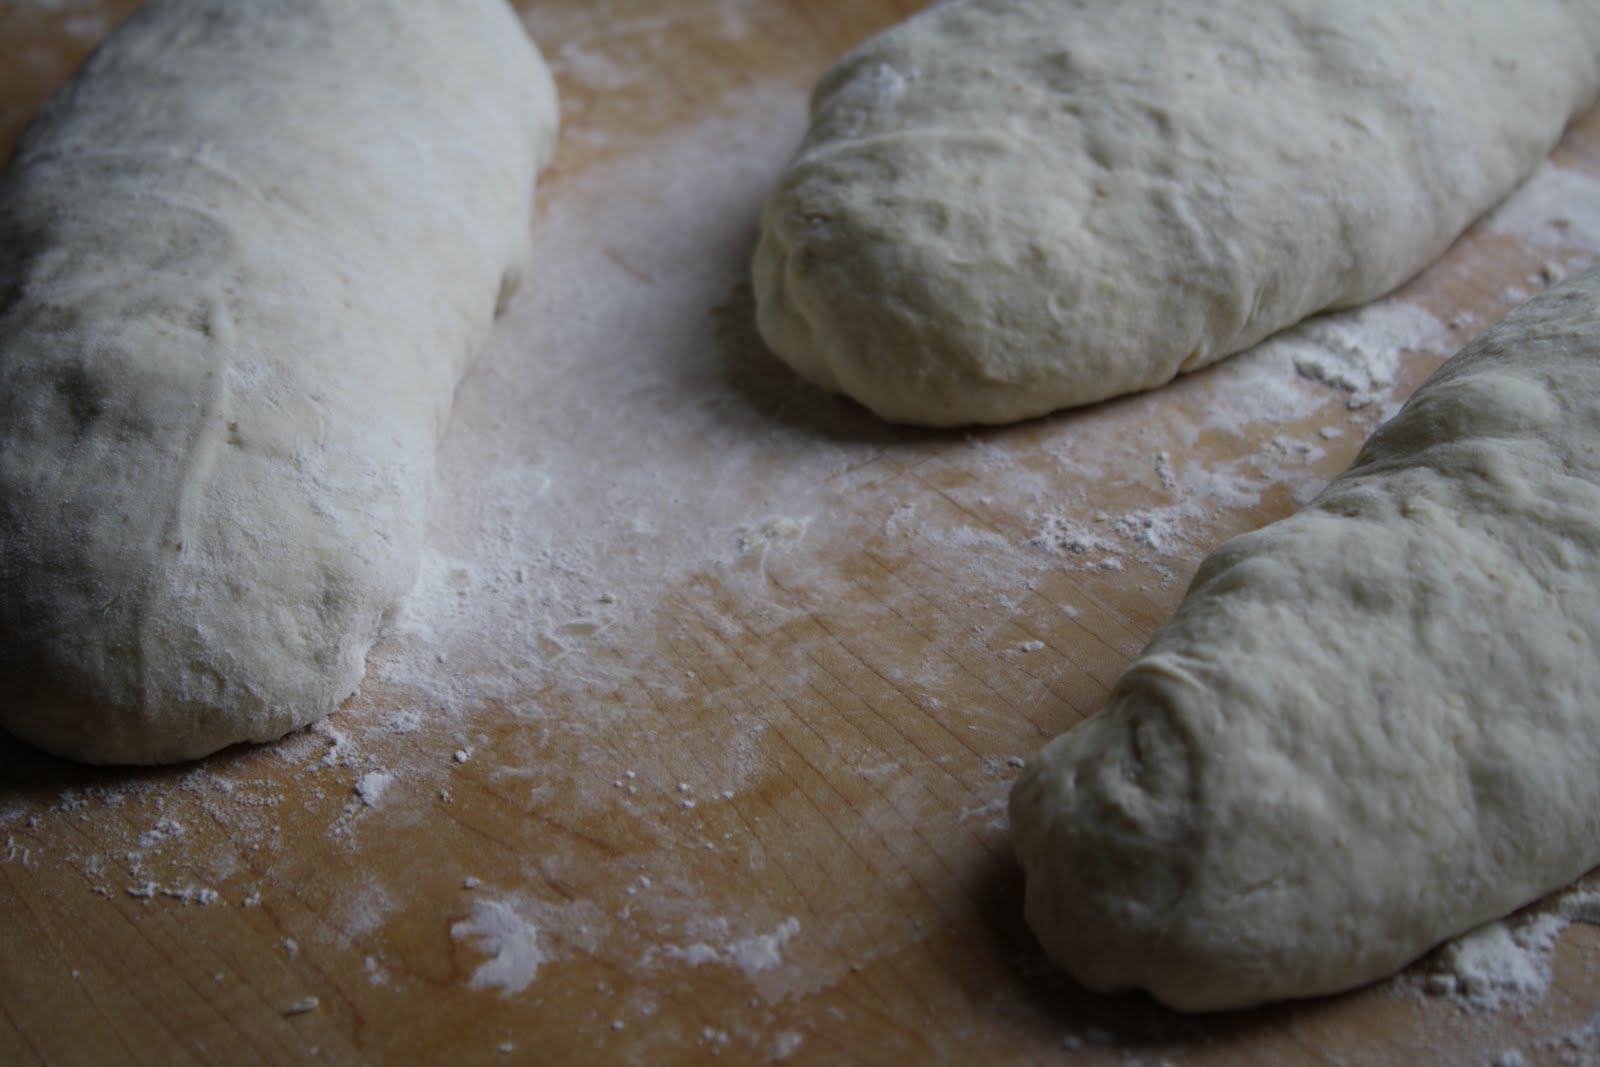
 Shape the loaves:
Flour your work surface and turn a piece of dough in the flour to coat it lightly. Shape it into an oval. Repeat with the other pieces. Let the loaves rest on a floured baking peel covered with a towel or plastic wrap for approximately 30-45 minutes (until a finger pressed into a loaf about 1/2 inch leaves an impression when removed.) I have had trouble fitting 4 loaves onto my baking stone without misshaping them in the process, so I have shaped and baked 2 loaves at a time, prepared the other 2 and baked them when the first loaves are out of the oven.
Place a baking tray with 1 cup of water on a rack below the rack where you will place your bread to help your loaves develop a nice crisp crust.
Sprinkle the loaves with flour, and slash down the middle with a sharp serrated knife to depth of about 3/4 inch, starting about 1 inch from top to about 1 inch from bottom. Slide loaves onto baking stone. Bake for 25 minutes, then reduce heat to 425 degrees and bake until crust is well browned all over, perhaps as long as another 20 to 25 minutes. Loaves should sound hollow when tapped underneath.
Remove from oven and cool on a rack for at least an hour before slicing.
I bake all 4 loaves in one day, keeping at least one out and freezing the others.
(Home-Style Bread)
adapted from In Late Winter We Ate Pears: A Year of Hunger and Love
This is the basic country bread found throughout much of Italy. The bread should have a thick crust and a slightly chewy interior with some irregularly sized holes...Makes 4 pounds of bread.
Make the Biga the evening before the day you make the dough:
3 cups flour
1/4 teaspoon yeast
2-3 cups water at room temperature
In a medium sized bowl, place flour and yeast. Add enough water to make a slightly thick, soupy mixture. (What helped me here is to think thick soup, not oatmeal). It must not be loose and splashy. Beat it well to incorporate some air into it, cover with a towel or plastic wrap, and leave overnight on a counter or other out-of-the way place.
 In the morning the Biga should be frothy with lively yeast activity. If it is flat and looks like the water and flour have separated, you will have to try again. (The freshness of your yeast might be the culprit.)
If your Biga looks lively pour three-fourths of it into a large mixing bowl, and store the rest in the refrigerator until the night before your next batch, when it can serve to add more developed flavor to the bread. (What has worked for me is to measure out 7-8 ounces of the Biga to store and the remainder should be about the three-fourths you will need for your bread).

Add to the Biga:
1 tablespoon yeast
2 teaspoons fine sea salt
5 cups flour
1/4 cup wheat germ
2 to 3 cups water at room temperature
To mix by hand:
Using a heavy wooden spoon, mix together the Biga, yeast, salt, flour and wheat germ and 1 cup of the water. As the ingredients combine into a single mass, continue to add water a little at a time, until the mixture in no longer lumpy and tough, but becomes a very soft, pliant, and resilient dough.
To use a mixer: Use the dough hook at the slowest speed until dough comes together.
If you are kneading by hand:
Turn the dough out onto a floured surface and knead for 15 minutes. Put the dough into a clean, large mixing bowl (I oil the bowl although the recipe doesn't call for it) and cover with a towel or plastic wrap. Let the dough rest for 30 minutes.
If you are using a mixer to knead:
As the dough travels around the bowl it should do so quietly and smoothly, without any bumps or clanking. If not, slowly add water in 1/4 cup increments, allowing 1 minute to assess the effect of each addition. If the dough sticks to the bowl at all, it should do so only at the very bottom of the dough, and only a little bit. If it is not moving around as a ball, then add flour in 1/4 cup increments. Let the mixer knead the dough for a total of 8 to 10 minutes, until it is silky smooth, yet elastic. Follow the directions above for resting.
 Preheat oven to 450 degrees.
Divide the dough into 4 equal pieces.
 Shape the loaves:
Flour your work surface and turn a piece of dough in the flour to coat it lightly. Shape it into an oval. Repeat with the other pieces. Let the loaves rest on a floured baking peel covered with a towel or plastic wrap for approximately 30-45 minutes (until a finger pressed into a loaf about 1/2 inch leaves an impression when removed.) I have had trouble fitting 4 loaves onto my baking stone without misshaping them in the process, so I have shaped and baked 2 loaves at a time, prepared the other 2 and baked them when the first loaves are out of the oven.
Place a baking tray with 1 cup of water on a rack below the rack where you will place your bread to help your loaves develop a nice crisp crust.
Sprinkle the loaves with flour, and slash down the middle with a sharp serrated knife to depth of about 3/4 inch, starting about 1 inch from top to about 1 inch from bottom. Slide loaves onto baking stone. Bake for 25 minutes, then reduce heat to 425 degrees and bake until crust is well browned all over, perhaps as long as another 20 to 25 minutes. Loaves should sound hollow when tapped underneath.
Remove from oven and cool on a rack for at least an hour before slicing.
I bake all 4 loaves in one day, keeping at least one out and freezing the others.
hi Clarice! It was so great to meet you the other day! I love your blog-- your breads look absolutely DIVINE! Can't wait to try a recipe (or five).
ReplyDeleteHi Clarice,
ReplyDeleteWow! My mouth was watering as I read this! Can't wait to try the recipe.
I also knit, so was excited to see that as part of your blog. Looking forward to reading more!
Hey Clarice,
ReplyDeleteYour blog is wonderful! I just spent the morning catching up as I drank my coffee. I love your bright pictures and some of the ways that you stage them -- like the granola in the tea cup. Lovely. I look forward to following!